Heroku-22-Stack-Upgrade-Guide
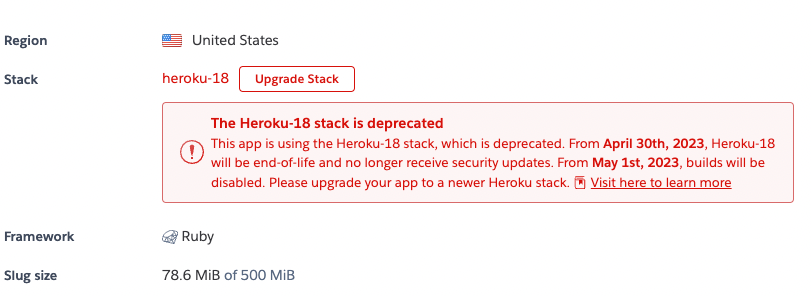
As of May 1st, 2023, Heroku will no longer be supporting the Heroku-18 stack. The reason for this deprecation is to maintain synchronization with the Ubuntu Long Term Support releases. If you are currently running your Rails application on this stack, when you navigate to the Heroku dashboard you will notice a warning to upgrade to either Heroku-20 or Heroku-22 before the end of the Heroku-18 stack life on April 30th, 2023.

While Heroku-18 will not be supported, do not be alarmed or concerned that the apps running on this stack will stop working. Heroku has confirmed that all existing applications will not be interrupted and non-build functionality will still be available. However, to maintain access to security updates, technical support and the ability to perform new builds, an upgrade will be necessary and is highly recommended.
Some things to note about what changes have been made in this new release according to this Heroku-22 stack article :
- The stack is now based on Ubuntu 22.04
- The stack will no longer include a system Ruby installation and all Ruby apps will use the Ruby installation that is provided by the Ruby buildpack. This means that most Ruby apps will not be affected.
- Python 3 will continue to be available via the
pythonandpython3commands as it has been in Heroku-20, but the new stack will no longer include a system Python 2 installation.
At OmbuLabs, we use Heroku for our applications so we are currently working on completing these upgrades. I had the opportunity to upgrade one of these apps, Points , and get it set up on the most recent Heroku stack and by doing so I learned a lot about best practices and how to ensure a successful upgrade.
Getting started:
Before getting started, make sure your application uses a Ruby version 3.1 or higher . It is also important to make use of a few tools that will help testing to ensure that after an upgrade is completed, the app continues to operate without any interruptions. These are going to be necessary steps before the upgrade is pushed up to production. Heroku offers two services: Review apps and a staging server that can be used during the QA process of an updated application. You can learn more about how to get review apps on Heroku set up before proceeding to the stack upgrade here . Using the review apps interface was our preferred way of testing the changes before giving it the green light to production as it offers a simplified way to see how the changes will behave. The following steps to update your stack are meant for those taking advantage of the review apps Heroku provides.
It is really important to make sure that a new branch is designated for the update. After checking out a new branch designated for the Heroku upgrade, locate or create an app.json file and add the following:
{
  "stack": "heroku-22"
}
Submitting a PR for this new branch will initiate a new build of the app on Heroku for testing purposes.
Once all testing is complete, the update can be done manually by navigating to the app settings and selecting the upgrade stack button.

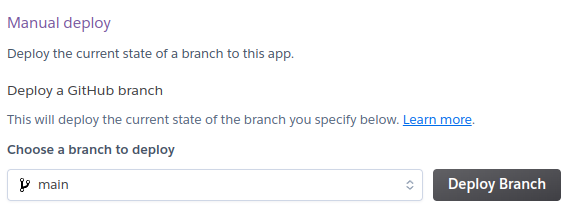
This will initiate the update but to be fully operating on the new stack, a manual deploy can be made from the Heroku interface as well by navigating to the deploy tab of the app and selecting deploy branch

And that will deploy and build your app on the new stack.
